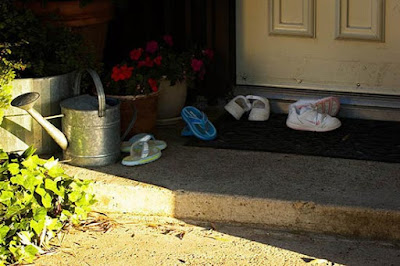
Before:

After:

First i would like to inform you that this tutorials is not for tooooooo dark images i mean 99% of the image is black but most of dark photos will be good.
1-open the photo then duplicate the background layer.
2-go to Filter>Blur>Gaussian Blur.. then change the settings just like this pic :
you can change the radius amount depending on your photo size (the bigger the photo the bigger the amount)

3-now duplicate the Layer1 then go to Filter>Distort>Diffuse Glow.. then follow the pic:
and also you can change the amounts depending on your photo size

4-change the blend mode of the two top layers to screen just like the next 2 pictures :


this is the result so far :

it's good but the sunlight area is too bright so in the next step we will work on darken it a little bit
5-now we will group the 2 top layers select both of them (select the first and while you are clicking on Ctrl select the second ) like this :

now group the 2 selected layers by pressing Ctrl+G or go to Layer>Group Layers:

6-add a layer mask to the group :

select the gray color:

now finally paint with medium brush on the too bright area like here :
(paint on the red area in the next pic )

this is the final result :

and this is another example :


i hope you like it and please leave a comment .


2 comments:
mmm the picture looks cartoonish after.
I think what you've done is great. I used to use just with finding the high and low levels (ctrl+l) and finding the midrange. Using a mask/defuse is nice.
Post a Comment