Hi there , today our tutorial is easy tutorials shows you how to make a 3d random object , its not technically 3D but i couldn't found a better name so this is our final result:
Hi there, our tutorial today is about how to turn a simple photo to a movie poster using photoshop like this photo:
Before:__________________________After:
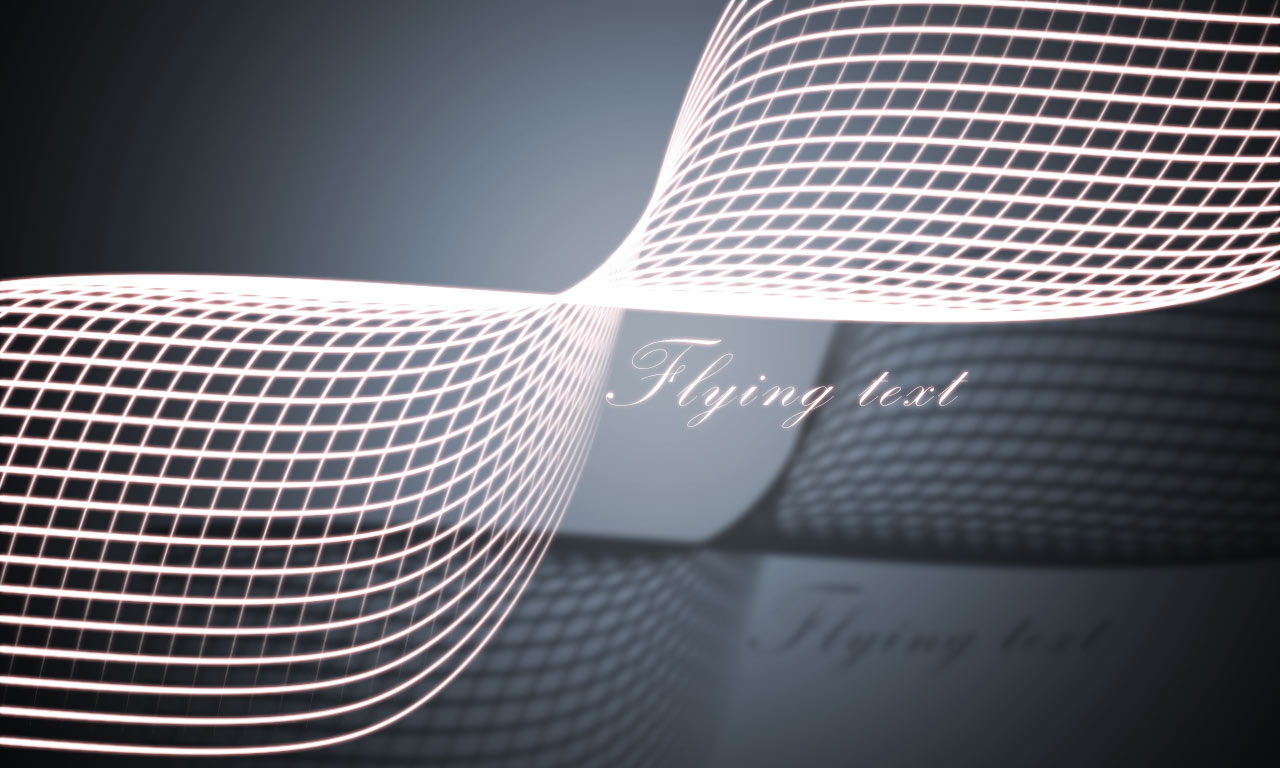
Hi there, our tutorial today is a text effect tutorial that shows you how to create a 3D text without using any new photoshop 3d functions so it's easy and possible to do with the older versions of photoshop, and this is the final result :
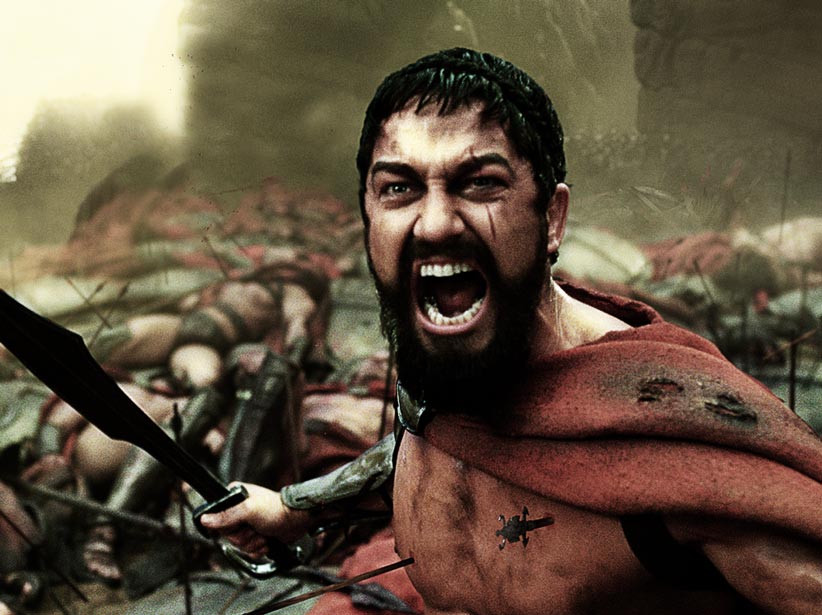
Hi there, today our tutorial is the 300 movie effect and i think it's one of the best movie effect it make everything looks EPIC so this is our final result :
Hi there , today's tutorials is just repetition to this video tutoriali posted few days ago but i preferd to repeat it with written tutorial and made a few change , so this is our final result:
Our tutorial today will show you a easy and fast way to increase the quality of your pics like this :
you can notice that the plate number is more visible in the after pic


